Every food photographer has some tricks to create eye-catching shots. Professionals know how to present even the most unprepossessing dish with a snapshot. Looking for a way to create photography that will make anyone hungry? We have a couple of life-hacks to share with you:
- Choose natural lighting – Artificial light creates an unwanted yellowish cast in the photo, which distorts real colors of products featured on the shot;
- Avoid direct light – Direct sunlight brightens the tints too much and makes the shadows sharper. If the food is shooting indoors, cover the window or use retoucher.online to fix excessive brightness;
- Take photos on cloudy days – In this case, the lighting will be perfect;
- Make the right visual accents – Make sure the main object in the photo is as highlighted as possible.
Choosing a Background for Food Photography
Remember the main rule – the more complex and bright the dish is, the less detailed the background should be. If you are photographing an exotic dinner or a colorful cake, it is best to choose a solid light-colored surface. A laconic sandwich, a mug of coffee, or a glass of juice can be removed on a tablecloth with patterns.
There are some other options for arranging the background:
- Wooden board – Its advantages are a neutral color and matte texture. This surface is suitable for filming any food;
- Beautiful napkin – It will complement the food composition if the dish looks too simple and boring;
- A surface of a table or chair – This is a perfect option for home shooting.
If you want to maintain a consistent photo style, try to use surfaces of the same color and texture for your food photography. Make sure that the background shade is in harmony with the palette of the food set.
Combining Product Colors
You can create a masterpiece from any food item by simply adding accents. For example, you can garnish the porridge with jam drops or chocolate chips or place a couple of leafy greens on top of the mashed potatoes. There are contrasting shades that make up a successful composition (black-white, orange-blue, yellow-purple, green-red, etc.). If the finished dish does not have these combinations, create them yourself. Again, accents will help out and add the necessary colors.
Experienced food photographers know they have the right to mix and match different shades of the same color. Even if all the food on the plate is green, the photo will turn out bright and colorful with the right lighting. The shades will form a harmonious ensemble and will play in a new way in the frame.
Looking for a Good Angle
Where to start a food shoot if the lights are already on and the food is ready? It all starts from the angle search. It depends on the composition and type of dish. Let’s analyze the possible options:
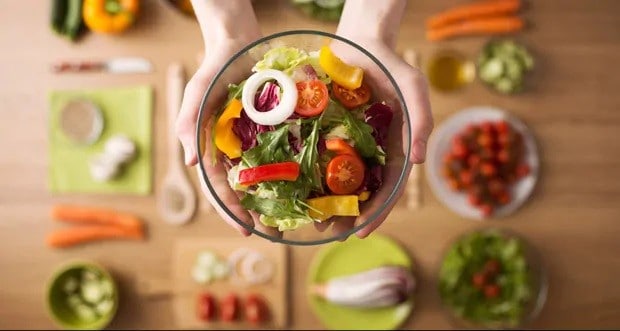
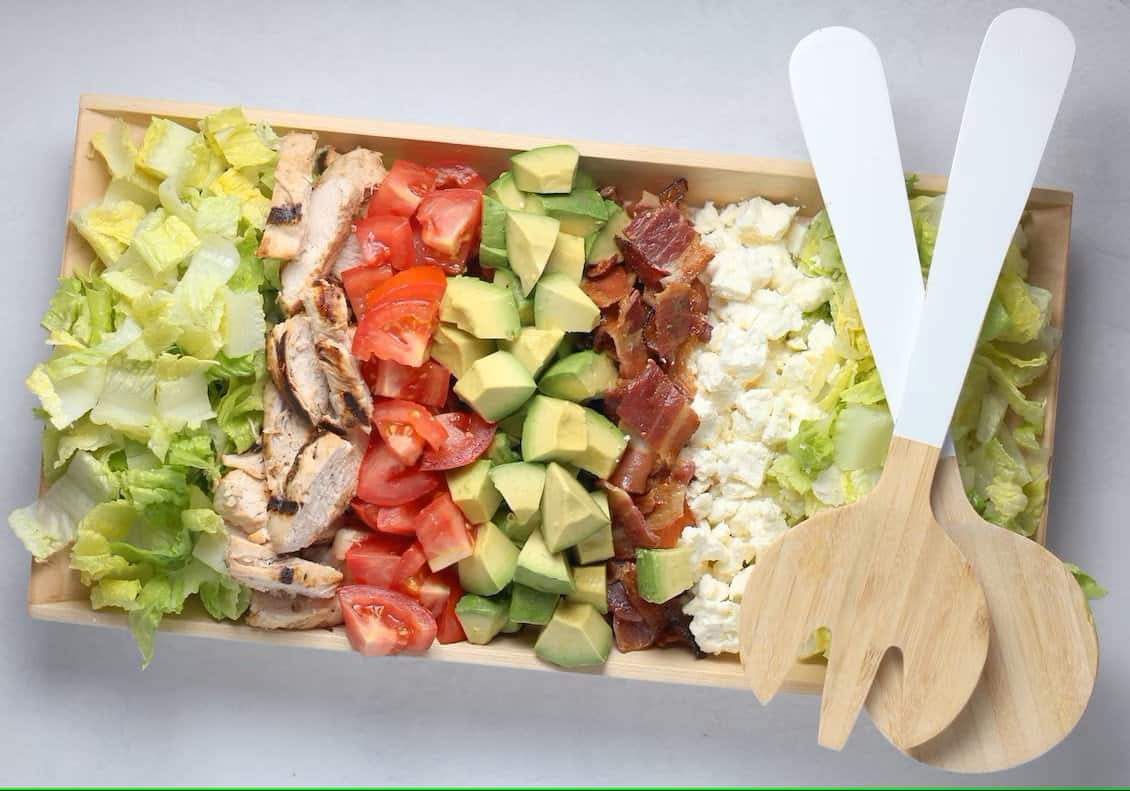
- Above shots – This method is suitable for shooting salads, pizza, scrambled eggs, omelets, side dishes, etc.;
- Sideway shots – Choose this angle for dishes where height is important. This refers to burgers, cakes, pastries, pancake and pancake towers, smoothies, etc.;
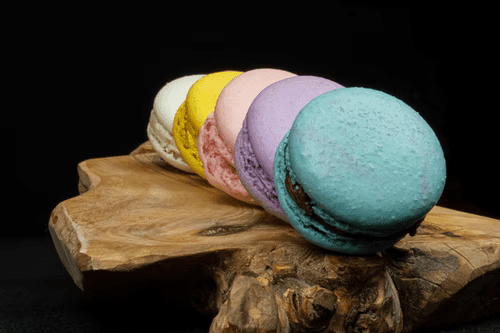
- Angle shots – It is an ideal angle for desserts. Such photos will show both the filling and the design of the food object.
We recommend you experiment; this is the best approach to running a creative photoshoot. Try to shoot objects from different angles and see which angle is more advantageous.
Building a Composition
While serving the dish, play with the arrangement of objects, try different combinations. If you lack imagination, stick to the basic principles of building a composition:
- Diagonal – This arrangement of objects will add dynamics to the frame. You can rearrange not only food; cutlery, utensils, and decor items will also play an important role in the overall picture;
- Parallel – Arrange food, decorations, and utensils parallel to each other. This is a universal composition that works well in most cases;
- Rule of thirds – Divide the food composition visually into three parts horizontally and vertically. Select the points that are at the intersection of these lines. This is where the key items should be placed.
Using a Mobile Phone
The most common misconception is that you need a professional technique for high-quality food photography. If desired, it is quite possible to cope with the task using a mobile device.
Tips from professional food photographers:
- Turn off the flash – it makes photos visually flat;
- Use retouch editors – even if you’re shooting with a brand new phone, unwanted light spots and insufficient contrast can appear;
- Experiment with height – Place cakes, desserts, casseroles higher and lower. See how the product will look more attractive.
It is important to follow the general rules for choosing light and building a composition. Only in this case, your photos taken with your phone will look professional and extravagant.
Don’t Forget About the Props
You can complement the frame with items that were used during cooking or include cutlery, spice jars, original knives, and napkins in the food ensemble. If you are shooting desserts, it is logical to put a small spoon next to the saucer or put a gravy boat with jam. The pizza photo will be diversified with a spatula for transferring slices. A clove of garlic or a piece of onion will look organic next to a bowl of soup. Such little things will allow you to achieve the effect of complete presence. Thus, the viewer will feel the taste and aroma of food.
Feel Free to Get Creative
You can always break existing rules if you have your own vision. The main thing is a creative approach and a responsible attitude to what you are doing. Only in this case, you can achieve success in your business and make food photography look tasty.


